Started putting the drivers side door and new seals back together
The B got a full window seal set I put a smear of copper anti seize on all nuts bolts and window winder - thing works like buttah!
so first things first-
1 Rivet on the outer horizontal window seal w 1/8" rivets. Start on one side and work to the other placing rivets through seal and door holes before riveting. This way you know it lines up.
2 Remove the nut off the spring on the bottom of the wing window, set aside the 2 washers, spring, and nut.
3 Remove the wing window and seal noting how it seats around the removeable lower front part.
4 I used pb blaster silicone (white\green can - safe for rubber) to help with seating the new seal.
5 Insert lower wing window long stud through new gasket into lower frame, then line up upper bullet hinge
6 Put the washer, spring, washer, and nut back on the window stud. Tighten to nearly fully compressed spring. This will keep it from flopping while driving.
7 Remove and replace felt track in wing window long track. I used a couple shots of spray glue to keep it from sliding.
8 Put on door to wing window lower seal and insert assembly into top of the door.
There are (2) 7/16" bolts that go through the 2 holes in the front of the door into the assy. ( they have plastic covers ) Have a magnet or something- they will fall in....
There is a stud on the lower part of the track that inserts through an adjustable block for stability, put on nuts but leave lightly loose for now.
AND there are (2) 3/8" nuts and bars that clamp upwards to the door through the upper front of the inside skin. Whew!
9 Having fun yet?
10 Roll DOWN the window crank assembly and insert through the back side of the door. It fits, don't fight it too much. Kinda shaped like a butcher cleaver when down.
11 With the winder part pointed down and forward to the inside of the front lower wing track and the back side raised, insert the glass track onto the rollers. This will take some juggling...
12 Move entire window/ winder assembly into position and loosely bolt on. 4 on front winder, 3 on rear support.
13 Congrats, that's the hard part.
14 The rear track gets new felt like the front- push the window into the front felt track and the rear track gets inserted carefully through the top into place at a 20* angle with a screw holding it in place up top and a similar adjustment block arrangement on the bottom.
15 Tighten winder assy bolts.
16 Install a new bump pad at the bottom over the hooks, I used a thin but dense packing foam so the window would roll all the way down....
Now, after glue dries some, you can wind up the window, and screw/bolt down the tracks so the window doesn't bounce back and forth and doesn't bind up. Near the winder there is a stud in the door with a 1/2" nut- this adjusts the up travel stop of the window.
Congrats- you have one more to do that will take half the time....
Wednesday, April 27, 2016
Monday, April 25, 2016
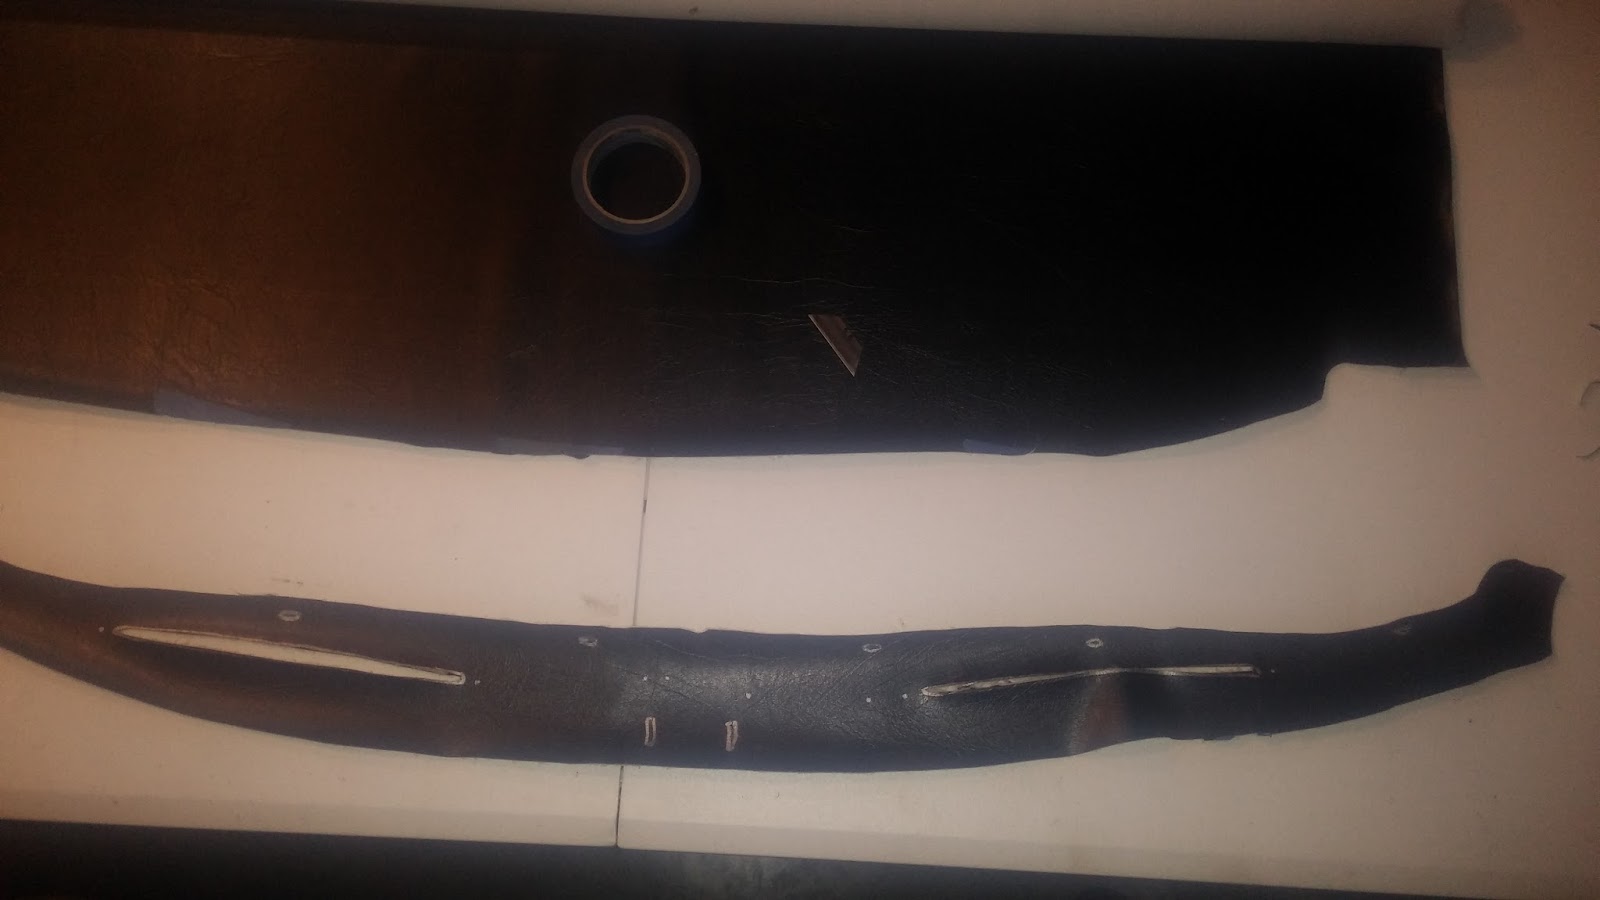
Dash vinyl and windshield install
When you start getting to this point you have a bunch of parts that have to go on first ..or else.
The side trim went on before the door guts go in, there are 3 plated bolts that keep the trim clamped down, one is behind the door glass.
The dash vinyl was glued down with 3M 08090, this stuff is supposed to work with underhood temps so I figured it would work on a heavy duty dash cover.
First of all I'd like to say thanks to my 1st grade art teacher for teaching me to trace. Hope I'm doing you proud.

After it gets set in place, use an awl to find the screw holes and a razor to cut the defrost vents out.
NOW you can make progress!
Screw down center dash snap post thingy- what is that called anyway??
Both defrost vents, pop rivet vin plate back on, and other vin plate and underhood comission plate.
Starting to look like a vehicle again!
I glued a 3/8" peice of foam under the windshield shelf for heat/noise insulation
Here's the biggy..


The side trim went on before the door guts go in, there are 3 plated bolts that keep the trim clamped down, one is behind the door glass.
The dash vinyl was glued down with 3M 08090, this stuff is supposed to work with underhood temps so I figured it would work on a heavy duty dash cover.
First of all I'd like to say thanks to my 1st grade art teacher for teaching me to trace. Hope I'm doing you proud.

I taped the original down to the new vinyl and traced the openings.
 |
| The cover is symmetrical except for the dash snap and the vin plate holes. The glue gets sprayed on to both pieces then left to set for 4 minutes before mating the parts. Put down a taped line to keep this stuff contained, it doesn't come off easy. Shouldn't for $24! |
NOW you can make progress!
Screw down center dash snap post thingy- what is that called anyway??
Both defrost vents, pop rivet vin plate back on, and other vin plate and underhood comission plate.
Starting to look like a vehicle again!
I glued a 3/8" peice of foam under the windshield shelf for heat/noise insulation
Here's the biggy..

After seeing all the do's and dont's of windshieldology the cord and strap method was used.

A cord goes under to pull the seal lip forward then the center rod bolts are started. They don't go in after!
Directions:
So run a strap from lower door hinge to lower door hinge, ratchet it down some and turn the middle bolts flat by flat, start pulling out seal lip, repeat process.
After 2 or 3x of this the edge of the "a" pillar holes can be seen through the bolt holes from the inside. Some say use tapered bolts, I used a 1/4" (6mm)
extension to center the upper holes, and with anti seize the bolts flew in.
Isn't this supposed to be hard to do? Must be doing something right.
The lower bolts, after lining up, I had to lean against the pillar to get the bolts started.
All of this fun took right at an hour and a half.
After cleaning the windshield I used the permatex flowable silicone that came from Victoria British to fill in voids.
Go me.
Thursday, April 21, 2016
Engine still starts and runs! Feeling successful
So I wanted confirmation that the engine ran since the rest of the work was at a standstill...
I used a basting syringe to put gas down the carb tubing since the crappy mr gasket pump never worked.
It does. Finally found a belt that fits the engine- from oreillys , a 957 (mm) belt. The alternator adjusting bracket that was on mine was originally supposed to come off the top of the A\C compressor mount so I guess its an oddball.
But considering the one I got from moss and the listing size from autozone , in stock alternator mounting location, were listed as a 920 or a 925mm respectively but couldn't fit with a bucket of grease and crowbars - I don't know.
On the up side- the engine runs long enough to find the carbs are equal with a synchronizer, and the lucas (ugh shudder) alternator puts out 13.7 volts. Strobe timing is at 16*
I'm going to drain the distilled water from the engine and fill it with antifreeze blend tomorrow.
The awesome exhaust is just through the stock cast iron manifold and front 2 to 1 pipe- no muffler yet. researching that!
*NOTE- make sure you have the oil pressure gauge tube corked or you end up with a pint of oil in your floorboard. Just saying.
I ordered an airtex 8016 fuel pump, supposed to be a quality unit that goes up to 4.0# pressure at 30gph.
The doors have latches again, I set the windshield on the car, haven't tried wrestling it yet...
0000 steel wooled the back bumper and painted brackets- can bolt it on except overriders tomorrow.
The overriders need new rubber inserts first.
Heater screwed in and cable hooked up while standing on my head in the passenger foot well.
Found "toms knob" and got it clamped in place.
New pump came in pronto- first hookup it pumped to the front with ease.


I used a basting syringe to put gas down the carb tubing since the crappy mr gasket pump never worked.
this is initial start , surprised to see it fire up so easily
before carb tuning
On the up side- the engine runs long enough to find the carbs are equal with a synchronizer, and the lucas (ugh shudder) alternator puts out 13.7 volts. Strobe timing is at 16*
I'm going to drain the distilled water from the engine and fill it with antifreeze blend tomorrow.
The awesome exhaust is just through the stock cast iron manifold and front 2 to 1 pipe- no muffler yet. researching that!
*NOTE- make sure you have the oil pressure gauge tube corked or you end up with a pint of oil in your floorboard. Just saying.
I ordered an airtex 8016 fuel pump, supposed to be a quality unit that goes up to 4.0# pressure at 30gph.
The doors have latches again, I set the windshield on the car, haven't tried wrestling it yet...
0000 steel wooled the back bumper and painted brackets- can bolt it on except overriders tomorrow.
The overriders need new rubber inserts first.
Heater screwed in and cable hooked up while standing on my head in the passenger foot well.
Found "toms knob" and got it clamped in place.
New pump came in pronto- first hookup it pumped to the front with ease.

The website was off a half pound of pressure, so it's a perfect 4#!

Tuesday, April 19, 2016
Im bleeding! And mr gasket sucks.
My clutch and brakes with some success. I lost the mity vac during the move, I'm sure it'll show up after I'm done. As usual.
Found a few loose brake fittings that got snugged down. Just need help with a proper bleed. The front bleeders are a 7/16 wrench, the rears are just hella small.
Now. On to the fuel pump. I installed a mr gasket 42s Pump about a year ago in hopes of filling the tank and firing the old girl right on up.
Blew air through all the line's and they're clear. So that's not it.
It's supposed to be a self priming pump. But it doesn't.
I tried putting gas into the line to prime it, but it spit it back out.
Finally after several tries I removed it to prime it by hand.
The filter that came with it came loose- quality😉👍
Then the outlet port / backflow prevention device fell out with hose stretched. It was just pressed on, not screwed.
Either of these while driving could cause you to grind to a halt or a fire.
Mind you this is a brand new, never used pump.
* Read the reviews before purchasing. * Amazon has a pretty good review section
Found a few loose brake fittings that got snugged down. Just need help with a proper bleed. The front bleeders are a 7/16 wrench, the rears are just hella small.
Now. On to the fuel pump. I installed a mr gasket 42s Pump about a year ago in hopes of filling the tank and firing the old girl right on up.
Blew air through all the line's and they're clear. So that's not it.
It's supposed to be a self priming pump. But it doesn't.
I tried putting gas into the line to prime it, but it spit it back out.
Finally after several tries I removed it to prime it by hand.
The filter that came with it came loose- quality😉👍
Then the outlet port / backflow prevention device fell out with hose stretched. It was just pressed on, not screwed.
 |
| Piece of crap Mr gasket pump. Press fit nipple came off outlet side. |
Either of these while driving could cause you to grind to a halt or a fire.
Mind you this is a brand new, never used pump.
* Read the reviews before purchasing. * Amazon has a pretty good review section
Wednesday, April 13, 2016
Windshield done!

 |
| So the job of doom begins... |

Original triplex glass... Headed for the dumpster. Last on the road 1990 btw...

 |
| The offending bracket. The two thru the lower rail screws rusted in situ. Drilled the heads off of them. Then one of the side screw heads stripped so with a little wiggling the bracket broke the head off of it. |
Now about the pesky screw in the side rail


So that got ground down and center punched and driled for a 10-32, that didn't work. So I jumped to a 13/64 bit and tapped it for a 1/4-20. Couple hours total, but I'm ready to start putting the windshield back together.👍

 |
| Sorry about not having pics of the in between wrestling match , but here it is... Hasn't cracked yet. Glass from Victoria British ( unknown origin) fit pretty well. Took about 3 hours and about 1.5 of that was wrestling the little upper bars into position to get screws in. After it settles down I have some windshield sealant to put on and the lower body gasket which is supposed to be just as bad. |
Almost done, or not. Fuel overflow lines...
So I thought I was done with the underside of the b.
Turns out....
I needed to wire a new ground for the group 26 12v battery, replace an axle strap that ripped without ever being on the road, bleed clutch and brakes, and install "toms knob"(the air intake drain tube), AND prime the fuel pump!
THEN it can be put on its new tires that have never touched the ground.
Turns out....
I needed to wire a new ground for the group 26 12v battery, replace an axle strap that ripped without ever being on the road, bleed clutch and brakes, and install "toms knob"(the air intake drain tube), AND prime the fuel pump!
 |
| This is what's inside the stainless lines fuel overflow lines. Although the braided part will last another 50 years, the inner perished years ago, allowing gas fumes to get into the trunk and the evaporation system out of service. |
THEN it can be put on its new tires that have never touched the ground.
 |
| Shrimp and cream cheese stuffed jalapenos. Just to break up the monotony. |
Wednesday, April 6, 2016
going back together!
So started putting stuff back together.
Building heater box, bolting on intake carbs, exhaust. Brake and clutch lines, charcoal filter, etc...


Starting to re acquaint myself with the wiring from, oh I dunno a year ago.
I started going through all the lights and making sure they worked.
The problem children were the front turn indicators, btw the all orange lens was only made for a few years so I wanted to keep them awhile. The
Inner chroming came off so they were aluminized .
The original contacts were shot along with the spring so I went to Dorman products for 2.99 vs $37 ea. for new lights.
I had to shave a little off the contacts disk so it would move easily in the light housing. Just line up the tab on the disk to the bulb slot so the contacts will match up.

Subscribe to:
Posts (Atom)