The side trim went on before the door guts go in, there are 3 plated bolts that keep the trim clamped down, one is behind the door glass.
The dash vinyl was glued down with 3M 08090, this stuff is supposed to work with underhood temps so I figured it would work on a heavy duty dash cover.
First of all I'd like to say thanks to my 1st grade art teacher for teaching me to trace. Hope I'm doing you proud.

I taped the original down to the new vinyl and traced the openings.
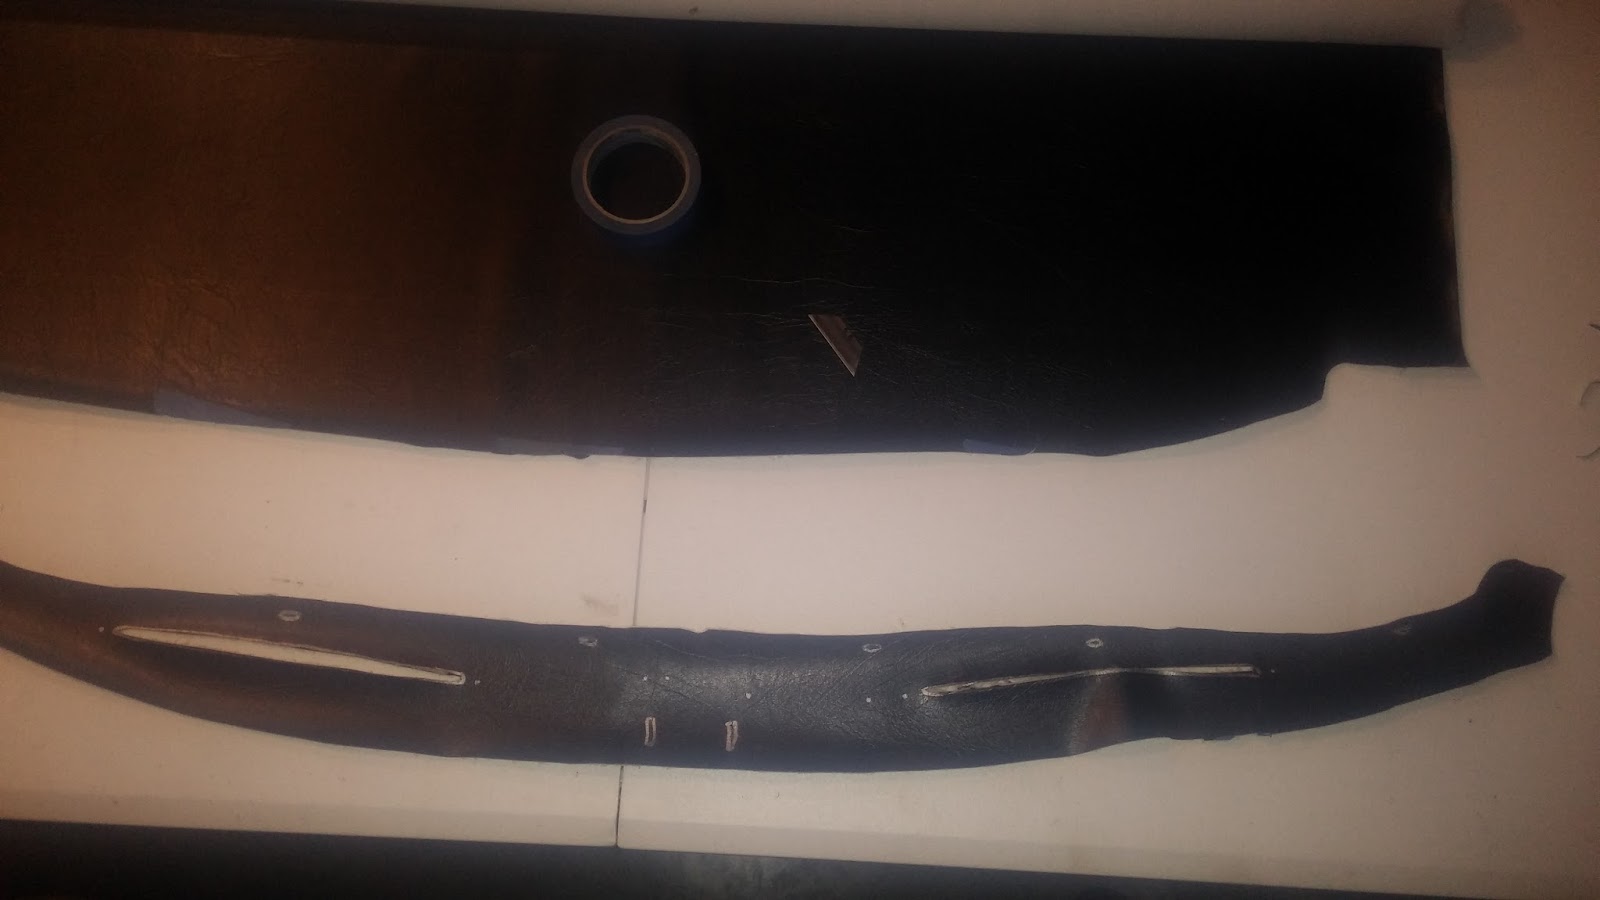 |
| The cover is symmetrical except for the dash snap and the vin plate holes. The glue gets sprayed on to both pieces then left to set for 4 minutes before mating the parts. Put down a taped line to keep this stuff contained, it doesn't come off easy. Shouldn't for $24! |
NOW you can make progress!
Screw down center dash snap post thingy- what is that called anyway??
Both defrost vents, pop rivet vin plate back on, and other vin plate and underhood comission plate.
Starting to look like a vehicle again!
I glued a 3/8" peice of foam under the windshield shelf for heat/noise insulation
Here's the biggy..

After seeing all the do's and dont's of windshieldology the cord and strap method was used.

A cord goes under to pull the seal lip forward then the center rod bolts are started. They don't go in after!
Directions:
So run a strap from lower door hinge to lower door hinge, ratchet it down some and turn the middle bolts flat by flat, start pulling out seal lip, repeat process.
After 2 or 3x of this the edge of the "a" pillar holes can be seen through the bolt holes from the inside. Some say use tapered bolts, I used a 1/4" (6mm)
extension to center the upper holes, and with anti seize the bolts flew in.
Isn't this supposed to be hard to do? Must be doing something right.
The lower bolts, after lining up, I had to lean against the pillar to get the bolts started.
All of this fun took right at an hour and a half.
After cleaning the windshield I used the permatex flowable silicone that came from Victoria British to fill in voids.
Go me.
No comments:
Post a Comment