Saturday, January 31, 2015

SU fuel pump

The su pump that I thought was defunct,came to life.  After removing the cracked cover
and cycling the points it kicked over.
I still don't know if its worth the parts to restore it vs a new pump. 
The intake side sucked a sheet of paper up to it and held it.

Brake removal

It doesn't seem like a lot, but the brake pedal support came off with barely a fight sans one screw.  Major accomplishment.
The hydraulics mounted to the upper left in a pedal box

These hung off the pedal box and through the hole.  Meet clutch and brake, wire wheeled clean and ready to paint
 

This is the brake distributor/ pressure failure switch light block. 
The left side hosts the rear master cylinder hose, the right central side divvies
up the front master cylinder that goes up and down to each front brake.
(front lower fought tooth and nail not to come out)
The middle port hosts the failure switch, the lower is the mount. to the fender.

Thursday, January 29, 2015

A/C kinda

The DSPO had tried fitting A/C to the car previously. At least the compressor. Believe it or not the clutch still engages, and it still turns freely even though the ports were open. I will have to investigate this after the rest of the chaos..
Maybe it should be a mobile air compressor...

The compressor was mounted like this to the engine block

The plate on top was what the alternator was mounted to.  It has 3 ears on it  and bolts to the
side (top?) of the compressor.  It doesn't seem to be a hack job, as the right lower front of the engine has an idler pulley and plate bolted to it.
view from the valve cover, L bracket on the bottom bolts to the block

SU HIF x2

  After attempting to pour fuel into the carbs, the rear float gasket was leaking scads of fuel on the exhaust and frame.  What do you expect- its been sitting since around 1991!  I pulled the carbs, got a lesson in how to hook them up and where parts go.  Got the choke cable moving smoothly too. 

  The  mounting bolts hold on the carbs, phelonic? spacers, heat shield ( has a vibration crack starting near the rear carb) and 6 gaskets.  I'm shaving off 1/2" on each of these studs because it took 10 minutes to undo 4 nuts.

Turns out the carbs front fuel float gasket was replaced, but not the rear one that was in 5 pieces.
in cleaning years of crud off the carbs, the throttle bushings had permatex around them.

The wire wheel on a bench grinder and a parts washer took care of the grime.

  Where the throttle cable attaches to the linkage, the trunnion was wallered out.
It was supposed to be around 3/16" but was 1.5X that in one direction.
 The hole was welded shut and re drilled.


After cleaning I found the choke trunnion was a little wobbly too...

Fuel system

  I drained the fuel tank previously and started removing the tank and pump. The old fuel is still good for a lawnmower or something, but not for a daily driver.

  The tank is kinda weird, it has underside nuts holding it, but it also has through the trunk floor bolts with and without captured nuts. Then you have to remove the rubber filler neck clamps and the evaporative canister  hose right next to that.


The tank turns out to be in very good condition, just need to clean the inside and repaint.

The fuel lines were blown out with air, making a old stinky mess up near the carbs.  The lines were intact though.


The SU pump.  Power was supplied to it, but it wouldn't run.
The cap got cracked while removing so it may be someone's spare...
For the replacement price of a new SU- I think its getting a newer pump.

Tuesday, January 27, 2015

Curse of Lucas....

With a good wiring diagram and much dilectric grease the electrical system started coming to life.  The headlight switch itself didn't work the first couple times , then started working flawlessly! Note the high beam indicator on the dash.

Running lights re grounded with a couple of new bulbs.

The brake lenses were shot, along with the gaskets. The turn signals aren't signaling and the reverse lights don't light yet.

Interior map light and trunk light came to life after cleaning the contact switches.

The plans are to get items in working condition, the start stripping them and placing aside.

Next: carburetors and fuel system

Wednesday, January 21, 2015

cleaning

Mechanic in a bottle.
I pulled the plugs, poured 2 oz in each cylinder, let it set for a couple hours, then over the course of a day started hand turning the engine 90* at a time.  Engine turns smoothly.

I was just finishing the jeeps repairs before tearing into the "b" and decided to do a side by side comparison of tires.
36" super swampers with mg wheels...it could work
The wheel and tire of the b are close to just the wheel weight of the jeep lol..

While cleaning and degreasing the engine compartment, i came across a valve coner sticker.  Can't  locate the company to see what they do..
It says KSE  xxxxspeed
Engineering
Imported  xxxx
xxxx  service

I can't make out the xx's


Seats were literally ripped out, completely rusted frames, carpet taken out, whats left of the top was removed, started investigating electrical.  Mtf...


Heres some long lost pics of the engine compartment from the field...
Little nasty...
m.i.a. oil cooler

Dirt, dirt, and... dirt


Monday, January 19, 2015

Holy cow- not again...

  Here's the 3rd blog in a series that all turned out to be about 1973 resto-mods of vehicles.  Why did another 1973 fall in my lap? I don't know.

But here it is...
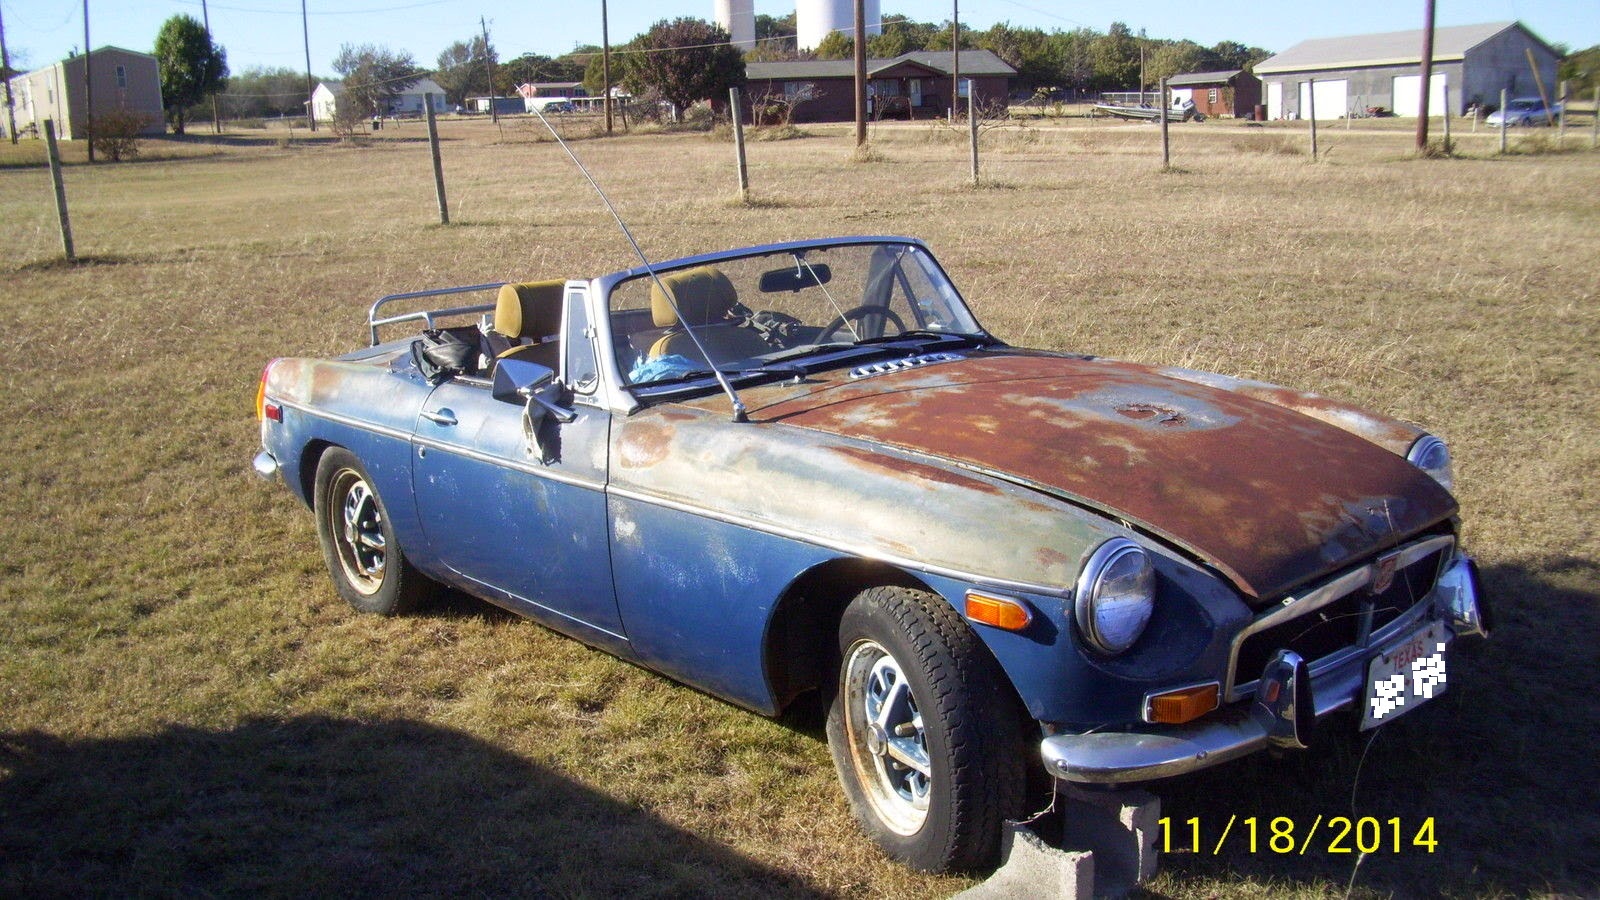
The subject in question...
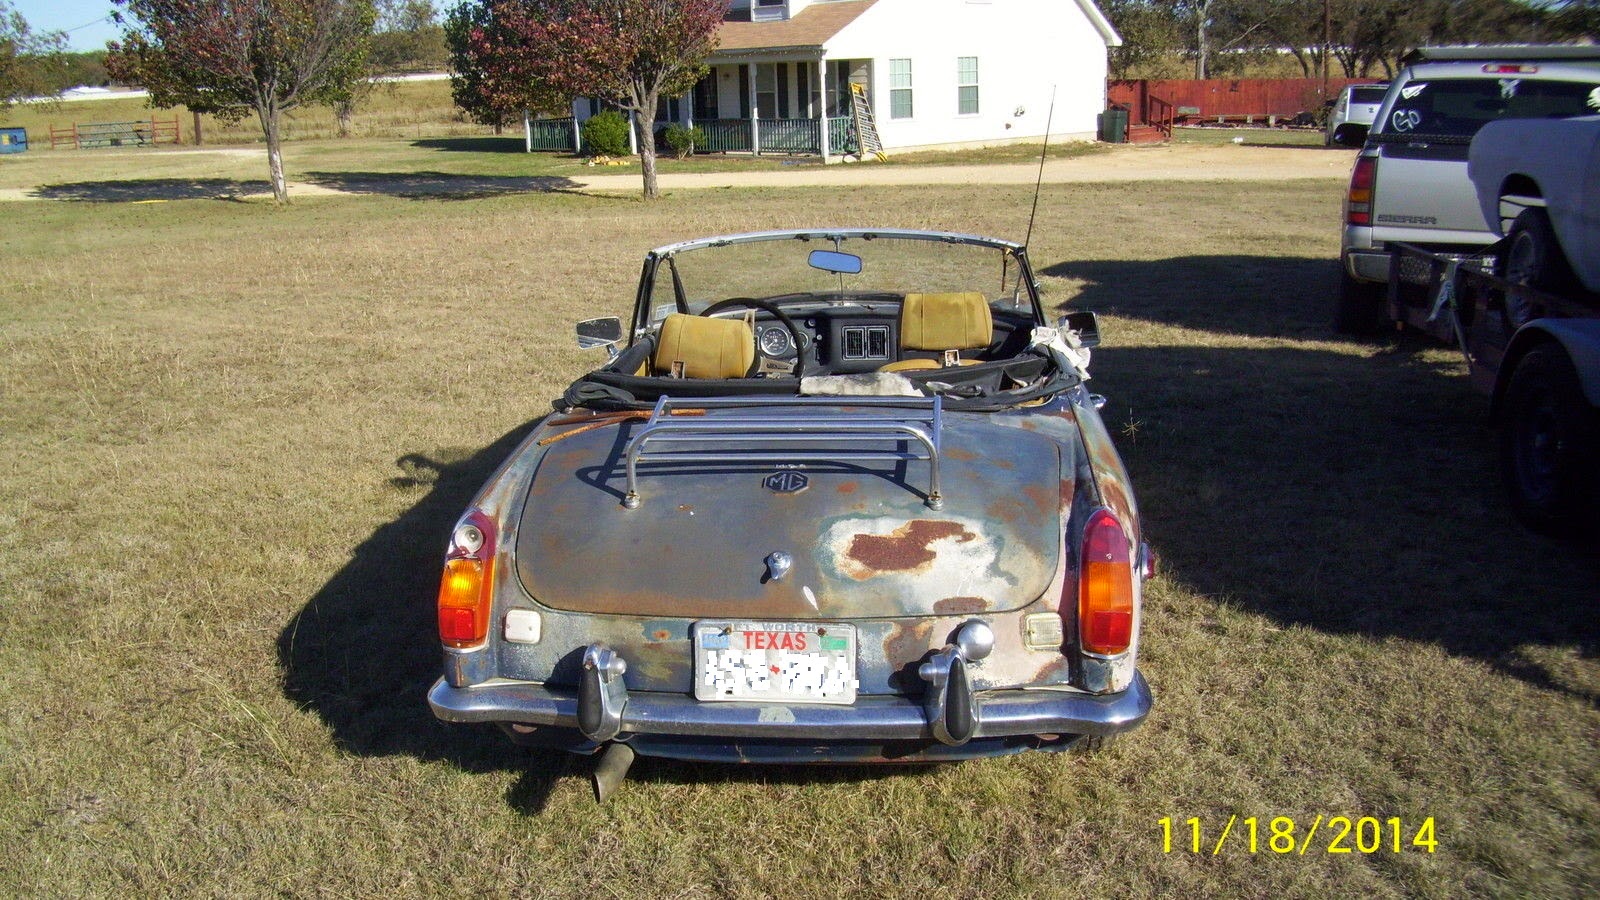
Chrome bumper rear

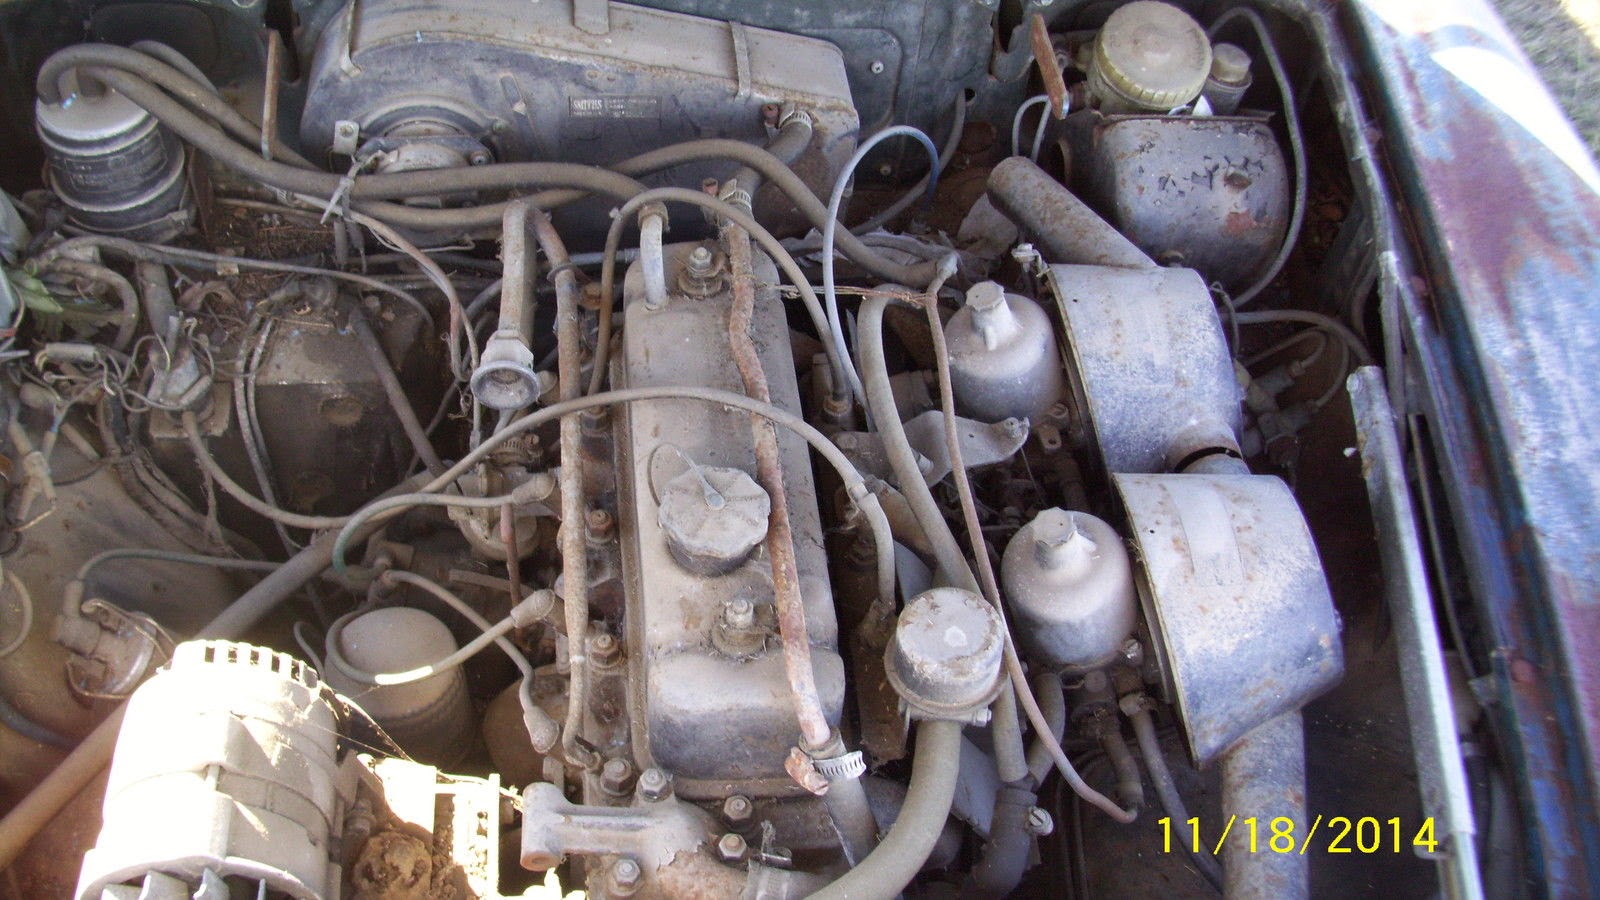
dual SU carbs- bitchin!

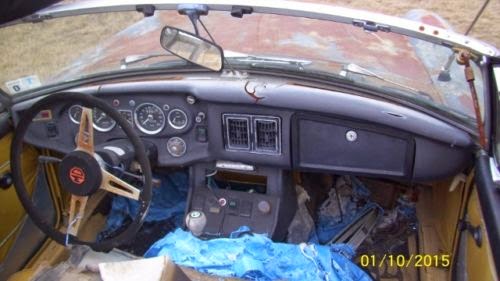
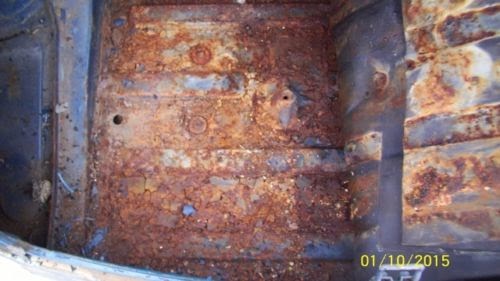
The floorboards ARE worse than they appeared- but the rest is pretty solid

The trunk seems bad but is actually pretty sound.
Done so far:   
   I drained 5 gallons of "gas" out of the tank,  it has a set of  "Lazarus" goodyears on it-
all four of the cracked, flat tires aired- one needs re airing every other day. but it rolls.
I vacuumed out the interior and pulled carpet etc..- floorboards are shot, but rockers and the rest are good.
Missing oil cooler- that's it. Everything else is there.  Who takes an oil cooler??
It has (2) 6v car batteries behind the seats.  At $100/per plus per battery ,its getting 1 standard 12v battery.
Top is shot, seats are shot, has working roll up windows,  master cylinder and clutch master are dry.
Outer body is pretty straight.
  **I'm betting that I can double the purchase price of the car just in replacement parts to get it running.**
   I will see if the engine will run- I can turn it by hand so it may.. if not- v8 swaps are fairly easy...
Right now its in the driveway pissing off the neighbors / HOA while the Commando gets upgraded.. Then the  car can be put in the garage and the fun can begin..


BIG NOTE: some of the stuff I do is by the book, some stuff requires
additional engineering to make it safe and sturdy enough. 
If you don't know what a lugnut or ujoint is, get help.
If you have no fabrication skills, get professional help before attempting any of this
stuff.  A poor weld or design can leave you at best stranded, and at worst you and or others dead. 

http://jims73rover.blogspot.com/

http://jims73commando.blogspot.com/